A few people have asked me how to make something like this piece, Abstractions, that I sell in my etsy shop, so I've decided to put together a brief tutorial on the process (but if you like this piece, I hope you'll buy mine along with trying out your own--in fact, if you contact me on etsy and mention this tutorial, I will give you 15% off the sale price on any print in my shop).
Tools you'll need:
Pen (archival ink is a must if you want your original to last; use black ink or whatever color you want your border to be)
Paper (if you want a higher quality drawing, use acid-free art paper suited to your medium)
Optional:
Colored pencils, multicolored inks, or paint (for adding additional color to your piece)
Scanner (for creating a digital image of your drawing to work with on the computer)
Digital image editing software (I use photoshop, but you can get "gimp" for free online) Step 1:
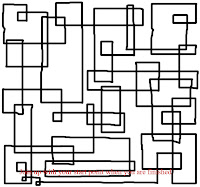
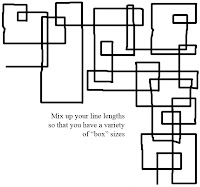
Pick a starting point near the lower right corner edge and draw a line parallel to the right side of the page. Make a "right turn" and continue your line. Keep doing this with different line lengths.
Tip: Make sure you are always turning in the same direction.
Step 2:
Continue this process, staying somewhat close to the right side of the page, until you approach the upper right corner. I find it looks best to arrange your turns so you can go parallel to the corner edge.
Tip: Don't actually touch the edges of your paper.
Steps 3&4:


Step 5:
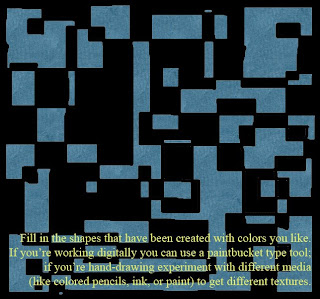
Now for the fun part--filling in the design. You'll notice that all four edges of your piece are white. Fill all of this in with one color--I usually pick black. Then take this same color and fill in all the shapes you've created that share a diagonal corner with this border.
 Once you've done this, you can either fill all the other boxes with another single color--as I've done in the tutorial image--or, for more of a challenge, you can fill them in with related colors in a pattern, as I did in my different versions of the "Abstractions" piece shown at the beginning.
That's it--congratualtions! You can add some variety by playing around with different media--colored pencils will add a different texture to your final image, for example, like it has in my ACEO Not Quite Home, and you'll find that ink and paint can also have interesting effects. If you have digital image editing software and a scanner, you can also create a digital version of your drawing and fill in the colors on the computer, which gives you a safe way to experiment with different color combinations.

0 comments:
Post a Comment