Showing posts with label squidetsians. Show all posts

Thursday, October 23, 2008

Working on a New Etsy Lens to Include Squidetsian Stores


I am so excited that I get to post on this blog :) This is my first post so bear with me. I also have my own blog which you are all invited to check out-- http://lakeerieartists.blogspot.com
Now that we have gotten the blatant promotion out of the way--LOL--I wanted you all to know that I am currently working on a lens that will be about Etsy and will feature everyone's stores that are Squidetsians. It is in the imagination stage but should probably be posted in the next week or two.
I have been spending much of my own time in the last two months getting ready for the holiday shopping season, which I expect to be highly compressed into the last couple of weeks due to the elections, the economy, and the fact that Chanukah is very late this year, and Christmas starts in the middle of a week. That means we all need to stock up on what we think will sell and be ready for an onslaught. One of the items that I will be selling this year is the photo in the upper left--a Christmas decorated recycled alcohol bottle cheese tray which will come in a package with a beaded knife. I think the price will be $38. I just started a new series of wedding lenses--will end up with 6. So far I have published one on Winter Weddings, Autumn Weddings, and Wine-Themed Weddings.

Wednesday, September 3, 2008

Thanks to our Top Entrecard Droppers for August!

We'd like to thank everyone who dropped their entrecard at Team SquidEtsy during August, and especially our top ten droppers. Our top ten droppers for August were:

1. Beyond Feron
2. My Gypsy Goods
3. The Peanut Butter Blog
4. Politics 2000
5. Make Every Day Your Lucky Day
6. Unique You
7. Thyme 2 Dream
8. Purr Prints
9. Art for Hair
10. Pink Crab Creations

These are all great blogs, check them out now! Again, thanks to everyone who dropped on us!

Thursday, August 28, 2008

Featured Team Member: Purr Prints

We'd like to start a new series of blog posts introducing our team members and profiling their Etsy shops and art.

First up is Purr Prints, an amazing artist who produces wonderful cat-themed art. There are prints, drawings and ACEOs as well as bags, magnets and a new line of beautiful pendants. Here's our interview with Becca from Purr Prints.

Tell us about your craft/art?
I started primarily as a 2d pen and ink artist, but I've become fascinated with Photoshop and started doing a lot of hand-drawn/digital combination pieces.

Being on Etsy has also pushed me to think outside the standard print page and move into cards, fabrics, and even (most recently) jewelry (I've fallen totally in love with making pendants as of late--miniature cats are so much fun to create!).

As my name indicates, I do mostly cat-themed work, but I enjoy other types of art just as much--I just don't tend to put them up for sale as frequently.


What first inspired you to start drawing?
My grandmother was a really talented artist, and she and I used to have art play dates together when I was young. I guess it just never occurred to me to stop.

What are you working on right now?
I have a few things in the works: tags for cat collars, key chains, and painted mats to use as placemats or under cat food and water dishes.

How would you like to develop your shop in the future?
I want to continue to expand all the different ways people can use my art; I'd especially like to learn to screenprint and get a sewing machine so I can do more with fabric.

What's your favorite item in your shop?
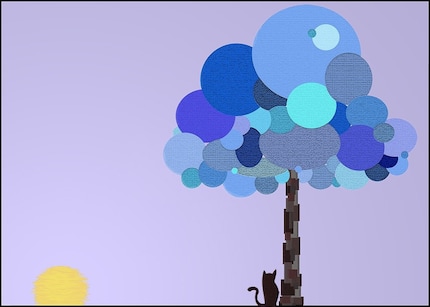
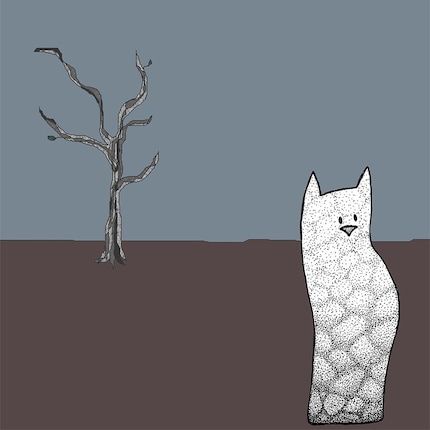
That's a really tough one for me, honestly. I think right now it's a toss up between the Existential Cat [bottom picture] and Syd and the Blueberry Tree [middle picture]. Both of those are pieces where I really feel like I hit my stride at combining digital and hand-drawn techniques into a unified work.

What's the most interesting/weirdest/funniest item you've seen on Etsy?
It would have to be the smarty pegs from dippylulu's shop--the description is an absolute must-read.

Thanks for the interview, Becca! We'll be featuring more team members soon!

Friday, August 8, 2008

Fun gifts for less than 10 dollars


A few items from members of team SquidEtsy that cost less than 10 bucks and would make great little fun gifts to tuck in a stocking or attach to a birthday card.

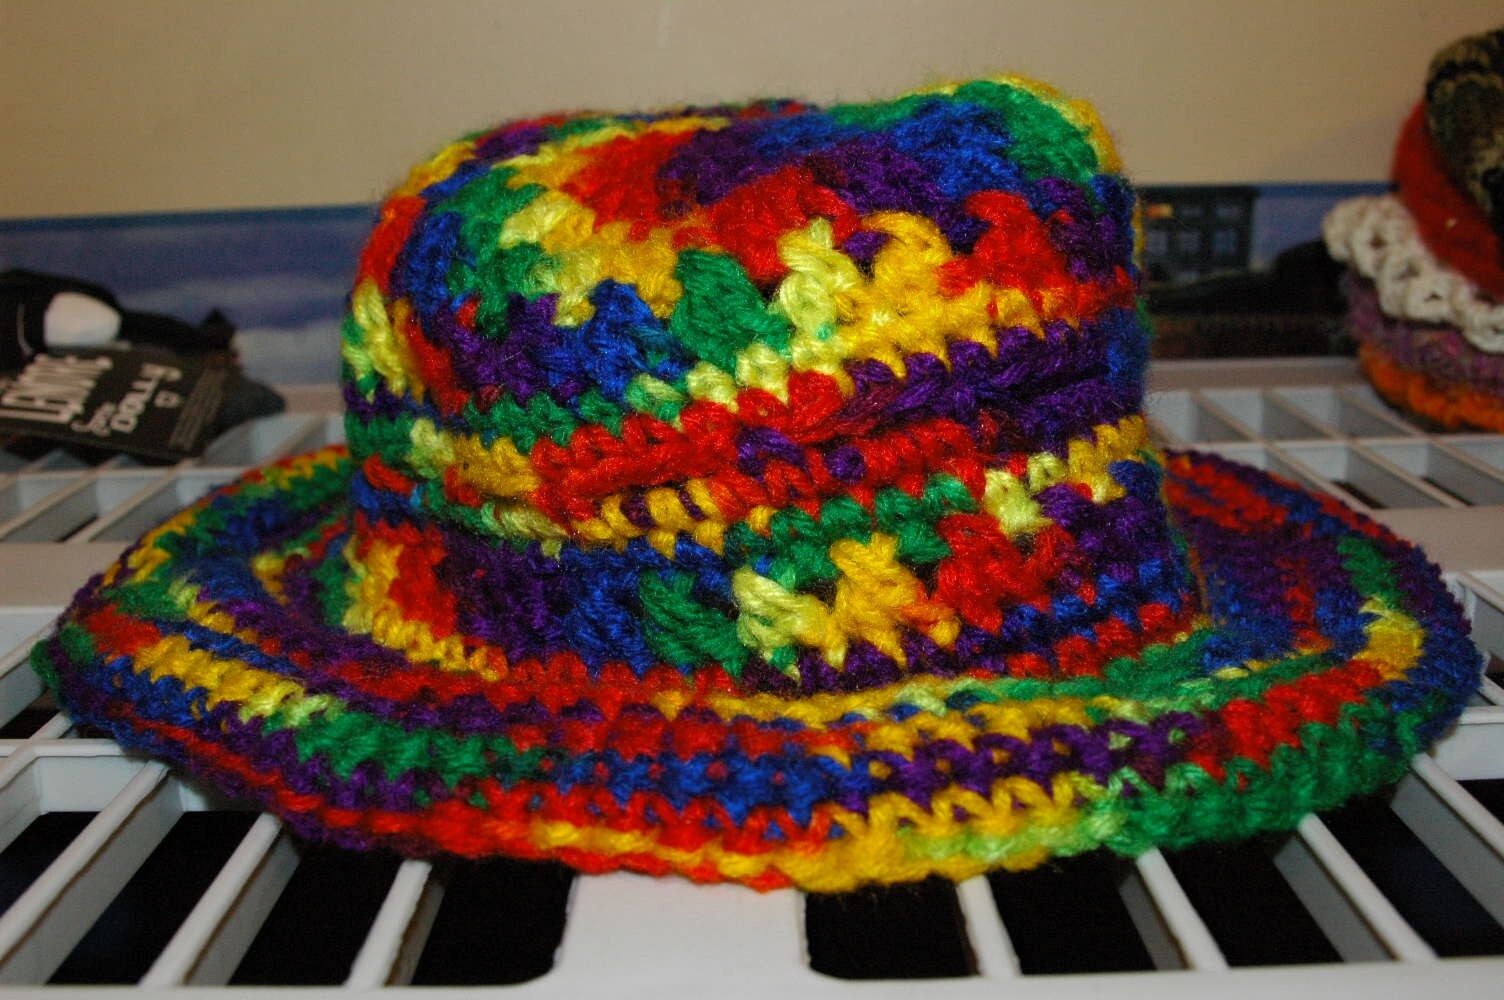
Punkerkas's Rainbow Sassy Crochet Hat. Only 8 bucks for this fun wardrobe flair.


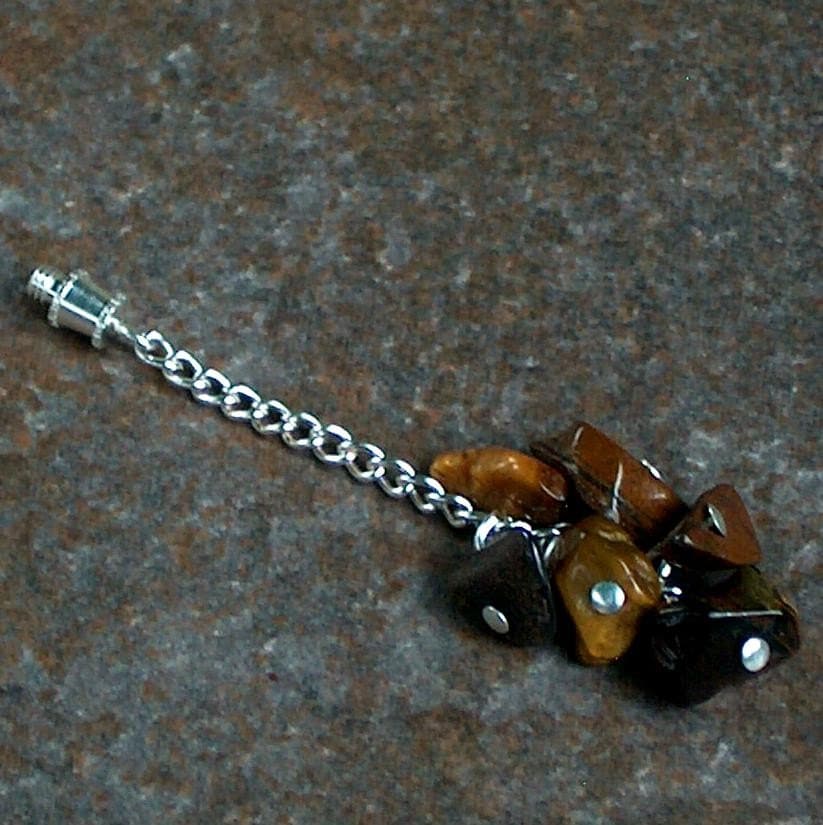
ArtforHair's Tiger Eye hair stick dangle. This lovely dangle can be attached to any of Art's interchangeable dangle hair sticks for a reasonable way to increase your "hairdrobe" (excuse my puns--I just can't help myself sometimes).


Melsdolls' Shoe Girl Charm Keychain. Only 3 bucks for the perfect playful gift to the shoe-aholic in your life.


PurrPrints Round cat magnets. At only 4 dollars a magnet, these colorful original cat drawings will perk up any kitty lover's kitchen art gallery (otherwise known as a fridge).


Wednesday, July 30, 2008

What Are Hair Sticks?


Have you ever seen a woman with long hair apparently effortlessly up in an intricate style with a pencil, chopstick or more elegant stick? I always envied these women their ability to quickly create these styles, until I discovered hair sticks myself.

Hair sticks are decorative pieces of art, which really do make these styles extremely easy for anyone with shoulder-length or longer hair to create, with a little practice.

Hair sticks have a long history and have been used since ancient times. There are records of them being used by the Egyptians, Greeks and Romans. Of course, it is the Chinese and Japanese cultures which are best known for their use of hair sticks.

In Japan, Geishas used elaborate hair sticks as part of their decorative styles. As a Geisha progressed in seniority, they wore different hair sticks to signify their rank. Different sticks, colors and flowers were also worn with different seasons and festivals. These hair sticks were called Kanzashi.

During the 1920s, hair sticks became more widely used in the West. Today, they remain a classic way to style long hair; they will never be out of fashion. Hair sticks today are made from wood, bone or metal, and choice of material is largely a personal preference. The tops may simply be carved into a design, or decorated with beads or dangles. There is a hair stick for every occasion, from designs suitable for casual, everyday wear to those for office wear, special occasions and formal events.

A major advantage of hair sticks is how little they damage long hair. When growing long hair, it is very important to minimize damage and breakage, and hair sticks are some of the least damaging hair accessories. Contrary to popular belief, long hair does not have to take a long time to style every morning. Compared to the blowdrying and styling products often needed to style short hair, putting up long hair with hair sticks takes no time at all! Also, you do not have to have superlong hair to use hair sticks. As long as your hair is shoulder-length or longer, you will be able to use hair sticks. If you would like to find out more about hair sticks and long hair styles, visit my Etsy shop or website.

Sunday, July 27, 2008

Tutorial: Drawing Abstract Designs


A few people have asked me how to make something like this piece, Abstractions, that I sell in my etsy shop, so I've decided to put together a brief tutorial on the process (but if you like this piece, I hope you'll buy mine along with trying out your own--in fact, if you contact me on etsy and mention this tutorial, I will give you 15% off the sale price on any print in my shop).

Tools you'll need:
Pen (archival ink is a must if you want your original to last; use black ink or whatever color you want your border to be)
Paper (if you want a higher quality drawing, use acid-free art paper suited to your medium)

Optional:
Colored pencils, multicolored inks, or paint (for adding additional color to your piece)
Scanner (for creating a digital image of your drawing to work with on the computer)
Digital image editing software (I use photoshop, but you can get "gimp" for free online)

Step 1:

Pick a starting point near the lower right corner edge and draw a line parallel to the right side of the page. Make a "right turn" and continue your line. Keep doing this with different line lengths.

Tip: Make sure you are always turning in the same direction.


Step 2:

Continue this process, staying somewhat close to the right side of the page, until you approach the upper right corner. I find it looks best to arrange your turns so you can go parallel to the corner edge.

Tip: Don't actually touch the edges of your paper.


Steps 3&4:

Continue this process along the top side (going towards the left), then the left side (going towards the bottom), and then along the bottom edge (going towards your start point). See the pictures below to get ideas on varying line lengths and overlapping in the center.
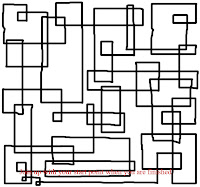
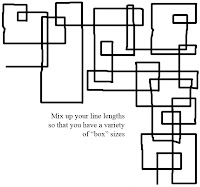


Step 5:

Now for the fun part--filling in the design. You'll notice that all four edges of your piece are white. Fill all of this in with one color--I usually pick black. Then take this same color and fill in all the shapes you've created that share a diagonal corner with this border. Once you've done this, you can either fill all the other boxes with another single color--as I've done in the tutorial image--or, for more of a challenge, you can fill them in with related colors in a pattern, as I did in my different versions of the "Abstractions" piece shown at the beginning.
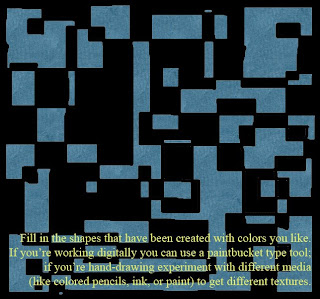
That's it--congratualtions! You can add some variety by playing around with different media--colored pencils will add a different texture to your final image, for example, like it has in my ACEO Not Quite Home, and you'll find that ink and paint can also have interesting effects. If you have digital image editing software and a scanner, you can also create a digital version of your drawing and fill in the colors on the computer, which gives you a safe way to experiment with different color combinations.